Calendar Hourly View
- Install the app and open the Feature named “Calendar Hourly View ”
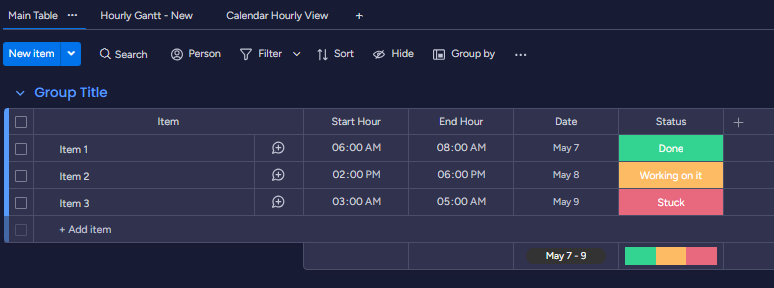
- Your main view should ideally have these columns.
- Item Name
- First Hour Column ( Indicating task starting time ).
- Second Hour Column ( Indicating task ending time ).
- Date (Mandatory)
- Status (Optional)
- Once you have opened the feature, click on the settings option on the top right to open the settings panel. You will see something like this.
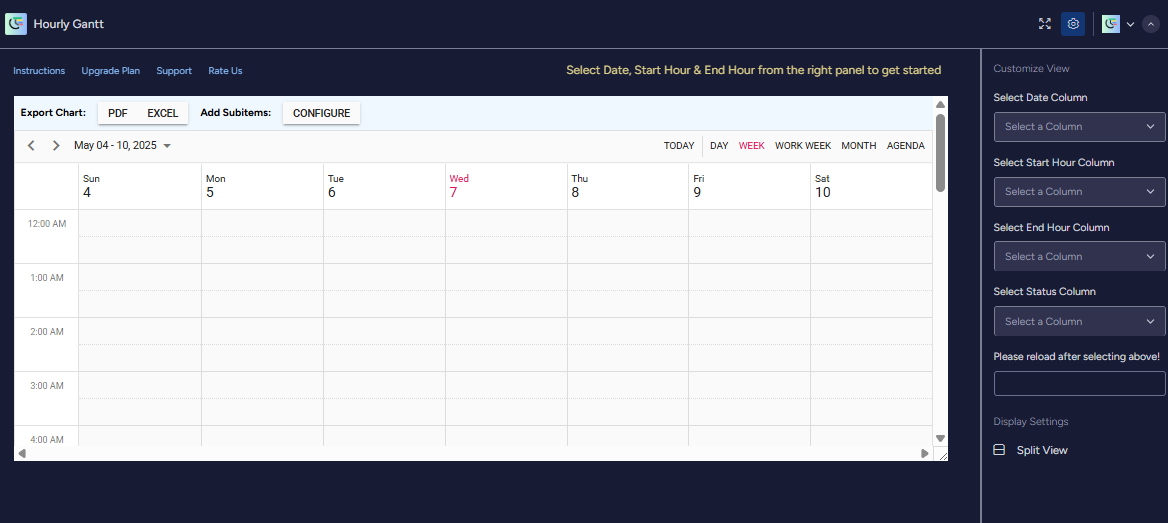
- Select the date, start hour and end hour column as we set up on the board before. And relaod the page. Reloading is an important step here. And your calendar view is ready!
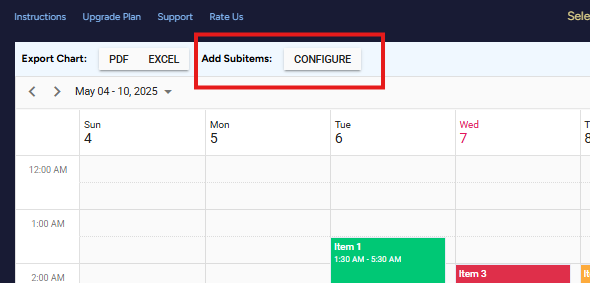
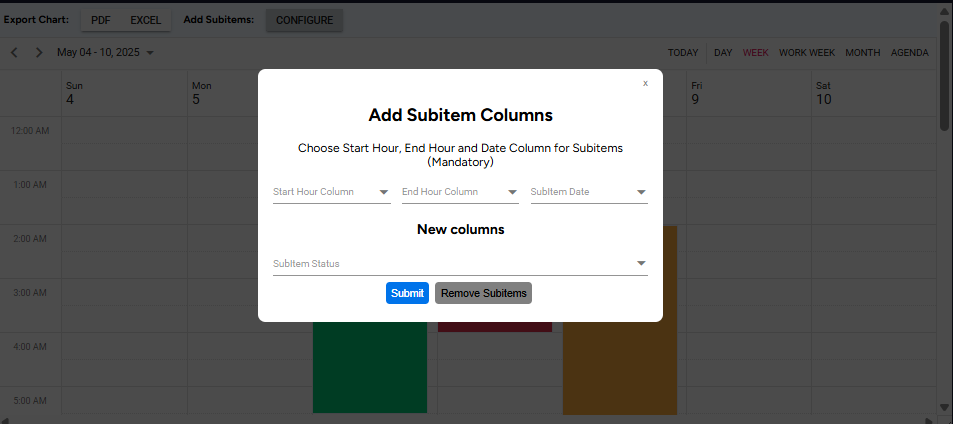
Including Subitems:
To add subitems, click on the ‘Add Subitem’ Button on the top left.
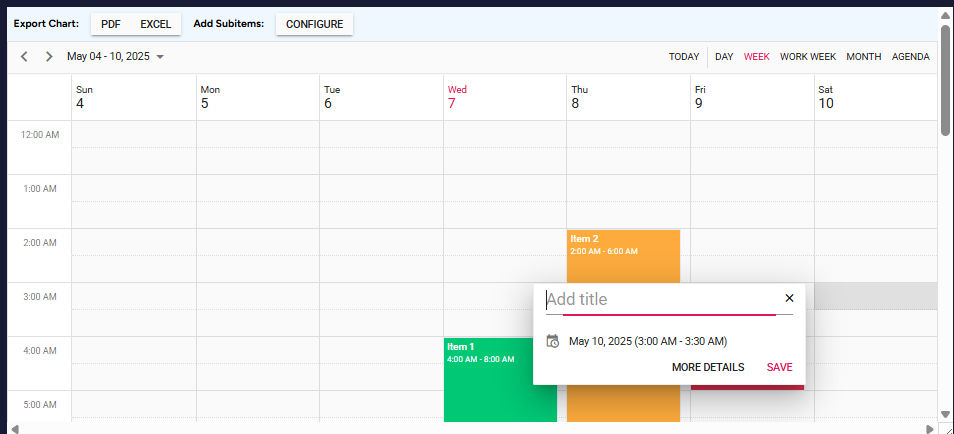
Adding new items:
You can add new items by clicking on any empty slot on the calendar.
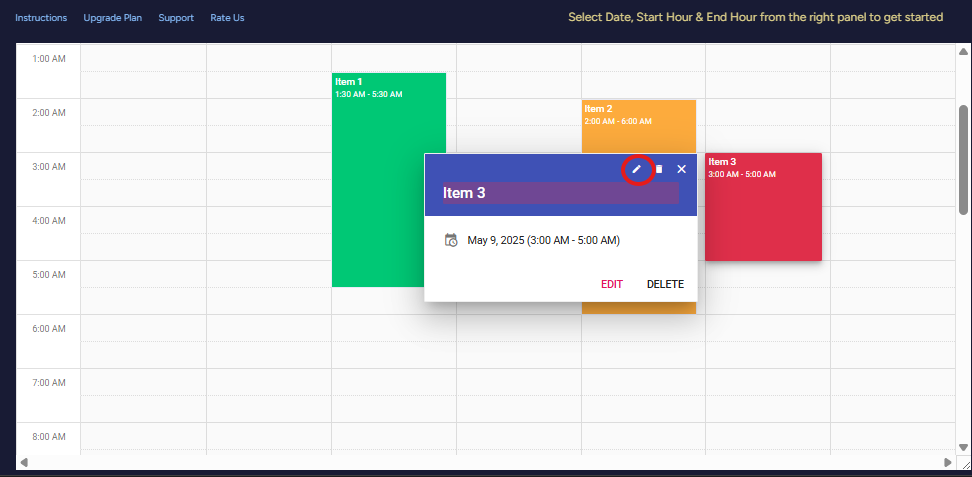
Editing:
You can edit an item in two ways in your calendar view. Let’s see how :
- Click on the item and in the details card, click on the edit button.
iii) Drag and drop the item in the desired date and time slot.
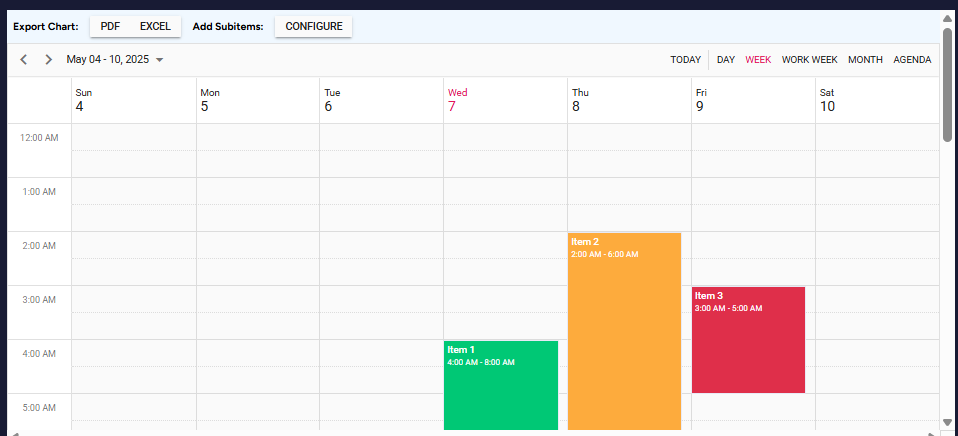
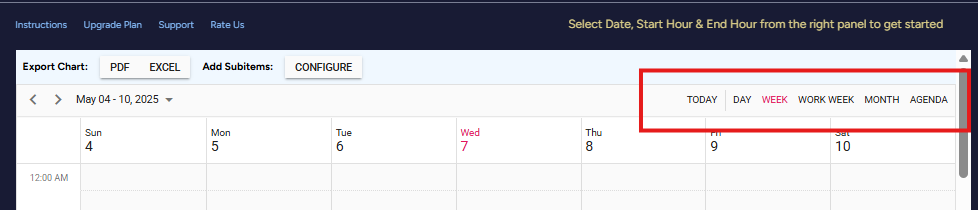
Changing views:
- You can change views according to your choice of timeframe from following options.
ii. You can change the window size by dragging the bottom right corner.