Welcome to Hourly Gantt and Scheduler
We currently have two features. Choose from below whichever you want to know more about:
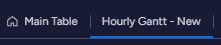
Hourly Gantt New
- Install the app and open the Feature named “Hourly Gantt - New”
(Please note that the feature named Hourly Gantt - Old is deprecated. )
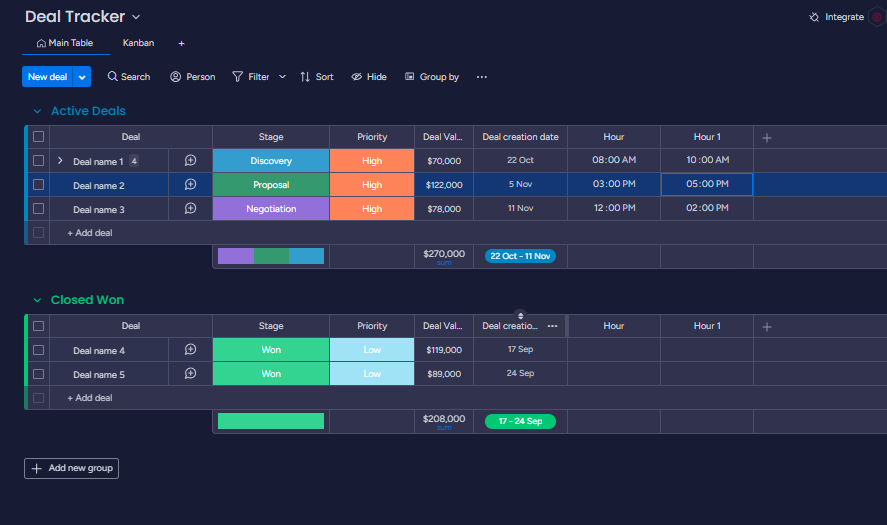
- Your main view should ideally have this columns.
- Item Name
- First Hour Column ( Indicating task starting time ).
- Second Hour Column ( Indicating task ending time ).
- Dependency (Optional)
- Status (Optional)
- Date (Optional)
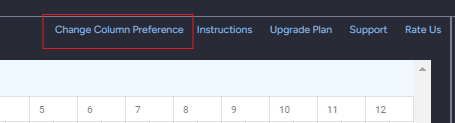
- Open the Hourly Gantt - New view and open settings.
- Choose the columns you want in the settings.

Make sure you refresh the page after you have selected the columns.
Your Hourly Gantt Chart is ready!
Adding Subitems:
- Select the following button in your Hourly Gantt App
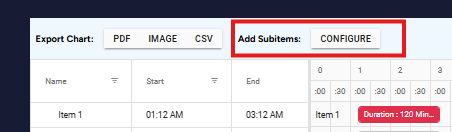
- You will encounter the following column. Add the start and hour column for you subitems just like we did for items. Please note that the Start Hour and End Hour columns are important. Status and Date columns are optional. After selecting press submit.
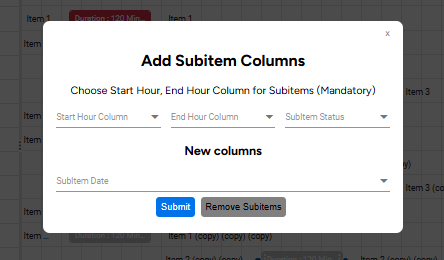
- Tip: If you want to view your chart without subitems, please select ‘Remove Subitems’ from the same menu.
Important:
Sharing with other members: If you want to share the Hourly Gantt view other members, they must manually enter the column preferences to access/view/use the same. Please note that view-only members can not use this view .
More Tips and Tricks:
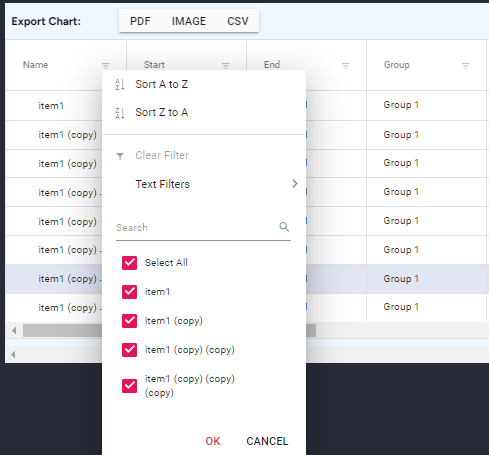
Filtering: Click on the The hamburger menu button on the table headers to open the filtering menu. You can filter the records based on Name, Date, DateTime, String search in multiple different ways.
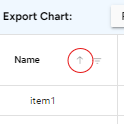
Sorting : Click on the table headers to sort the records. You will see an arrow appearing beside the header name.
Editing : Records can be edited using two methods. Either drag the record or use the editing menu by right clicking on record name. See below video for example.
Hourly Gantt - Old
If you are a new user of this app, please don’t use this feature. This is a deprecated feature.
- Open the Hourly Gantt - Old view
- You’ll encounter this form.
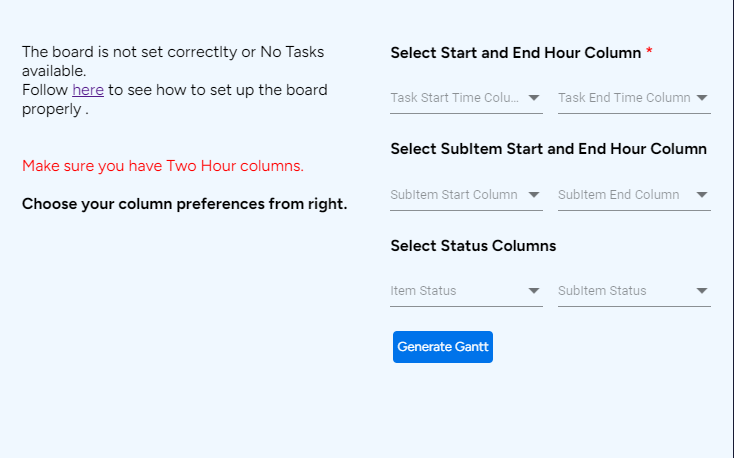
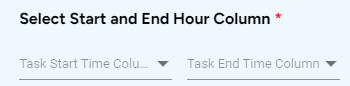
- The first Two fields are mandatory to view a Gantt chart. Select the Start and End Column to as we set up in the starting.
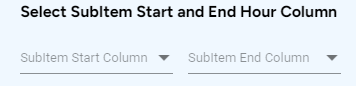
- Additionally you can do the same for Sub Items. Set up similar columns for Sub Items and select them in the second row of the form.
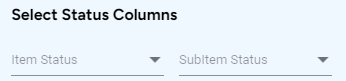
- To see the status of your items you can select the status fields in the last row of the form. One on the left is for main items and one on the right is for sub item.
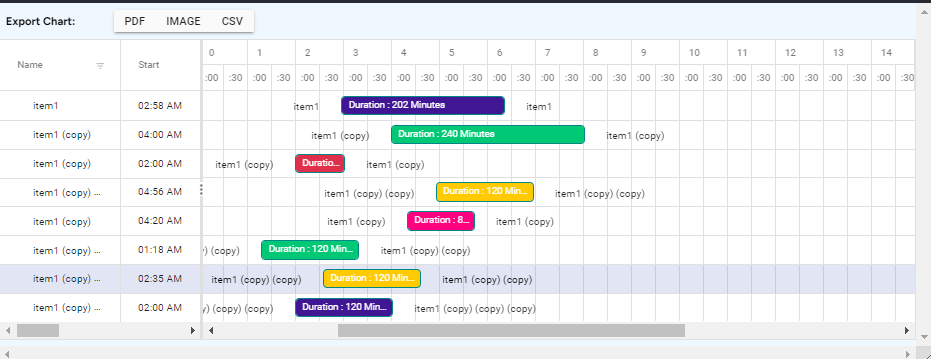
- Click on Generate Gantt Button. Your Gantt Chart is ready.
Changing Data Source: Change preferred column using the following option.